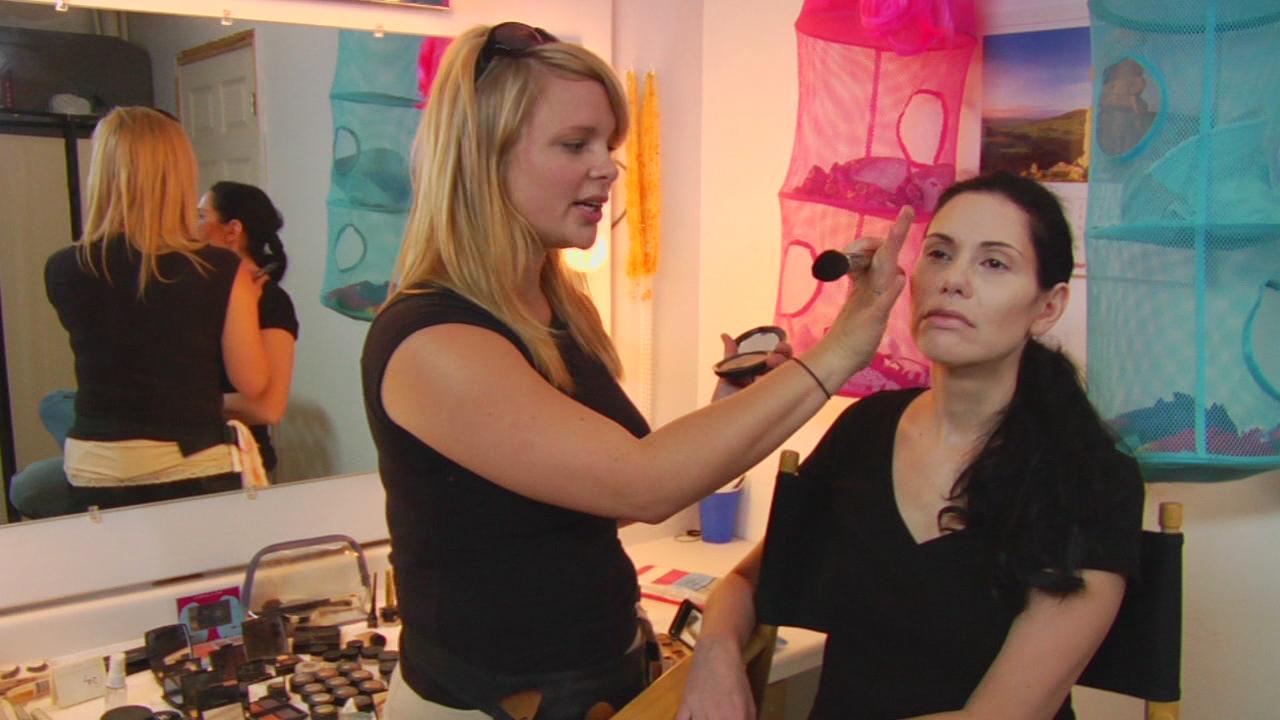
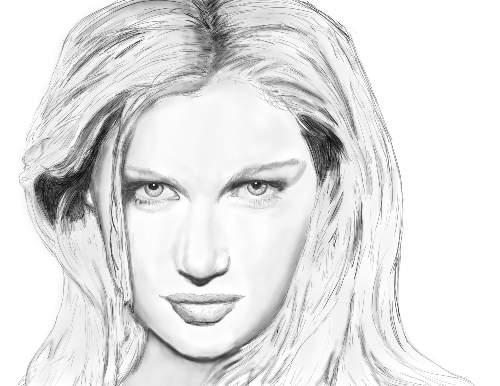
With the proper technique, you can use shading and contouring to make you face appear lean and toned. You can camouflage a double chin and make your jaw line look defined. You can also great more prominent cheekbones with just a little bit of good makeup.
The first step is to discover your face shape. This will help you make informed choices about your hairstyle, makeup, spectacles and earrings. The face is divided into three sections that should be evenly proportioned:
Forehead to bridge of nose Bridge of nose to base of nose
Base of nose to chin The optimum face shape is oval. This means: The widest point is point is at the cheekbones The face narrows gradually down to the jawHow to measure your face? Tie or pin your hair back off your face. Wear a low neckline. Stand in front of a mirror. Using a water soluble market pen, draw the outline of your face onto the mirror. Stand back and look at the result. Is your basic face shape oval or round? Does your face have angles? Is the overall shape balanced? Does your face seem long? Is it wide at the top, narrowing down to a pointed chin?Your proportions Standing in your original position, look at the outline of your face drawn onto the mirror; mark the position of the bridge of your nose. Then draw another line at the base of your nose, and check the proportions. Turn to the side and look at your facial profile.
Is there any feature that stands out disproportionately, such as your forehead, nose or chin?
If your face shape and proportions are balanced, and you are happy with your profile, continue reading below.The best way to minimize a high forehead is with a fringe, whether full, layered or asymmetric. If you have a low forehead, wear your hair off your face; if your hair naturally grows forward, ask your hairdresser to cut a fringe from the top of your head – this is known as a deep fringe to give the illusion of a higher forehead. If you have long nose, you can use makeup to help create the illusion of a shorter nose. Highlight the nostril area with a light shade of foundation or concealer, and use a darker shade down the centre of the nose. This will make the nose appear wider and shorter. Avoid a hairstyle with a centre parting.
There are various face shapes – round, square, rectangle, triangular, oval, pear, diamond, triangle and many more fancy names. I am not going to confuse you but to get you to know your face shape easily.
You see it in movies all the time, actors who don’t have a clue, trying to put cam paint on their faces, and ending up looking very silly indeed. I will try to explain how to put your cam paint on properly and why it should be done like that.
Firstly you must understand why things are seen, they all begin with S or M, (except one) so remember that and it shouldn’t be that hard. They are:
Shine ,Shape , Shadow, Sound, Movement ,And Colour
By putting on cam paint, you are trying to stop some of these things being noticed. To a human, one of the most recognisable things that you can possibly see is another human, or a human face. So it is very important that you make your face as unrecognisable as possible, this does not mean that you put one strip of paint under each eyes, nor does it mean that you paint your face so green that you look like a serious case of facial gangrene. So, the first thing to do is to make sure you have the right type of cam paint. To begin with it has to be waterproof, otherwise you’d have to re-apply it after every time it rained. Second, you have to make sure you have the right colours. Black is no good at all (unless you are applying Urban cam), as it does not occur naturally in the wild. The two colours you will need for the majority of the time are brown and green.
Cleanse and moisturize your face as your normally would. Try Aveda’s hydrating lotion and cleansers which restore natural balance back to your skin.
-
Step 2
Prime your face using a nice facial primer, a recommended brand is MAC. A good primer will prepare your skin for foundation and ensure even application of your makeup. Allow to set several minutes.
-
Step 3
Apply foundation all over face and all the way down to your neck and chest and blend foundation with a good foundation brush ( Estee Lauder makes fabulous brushes).
-
Step 4
Apply a light dusting of finishing powder all over you face, neck, and chest.
-
Step 5
Get out your contouring kit ( I use the Stila Contouring Trio. Get a fluffy blush brush and use the lightest shade and apply it to the apples of your cheeks and the peek of your chin.
-
Step 6
Suck in your cheeks making a fish face and apply the darkest shade into the creases you made in your cheeks in a vertical but slanted line from bottom of cheeks to the side of your cheekbones. Also apply a straight horizontal line directly under your chin from side to side.
-
Step 7
Use medium shade to blend in between lightest shade on your cheeks and the peak of your chin to under your chin on your neck where you made the line.
-
Step 8
Blend any harsh lines. By this time you should have created a shadow affect to camouflage any double chin that might have showed before and you also should have created a strong cheekbone.


